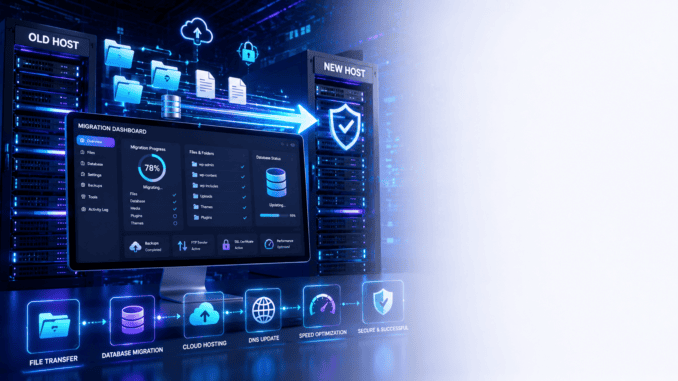
Moving your WordPress website to a new hosting provider may seem complicated, but with proper planning and the right tools, the process can be completed safely and efficiently. Whether you’re upgrading to a faster hosting plan, improving website security, or reducing hosting costs, a successful migration ensures your website remains available with minimal downtime.
This guide explains how to migrate your WordPress website manually and with migration plugins while protecting your data throughout the process.
Why Migrate Your WordPress Website?
Website owners usually migrate to a new host for several reasons:
- Faster website performance
- Better uptime and reliability
- Improved customer support
- Lower hosting costs
- Enhanced security features
- More storage and bandwidth
- Easy scalability for future growth
Choosing the right hosting provider can significantly improve website speed, SEO rankings, and visitor experience.
Step 1: Back Up Your Website
Before making any changes, create a complete backup of your WordPress website.
Your backup should include:
- WordPress files
- Themes
- Plugins
- Media uploads
- Database
- Configuration files
Store the backup securely on your computer or a cloud storage service. Having a backup allows you to restore your website if something goes wrong during migration.
Step 2: Prepare Your New Hosting Account
Before transferring your website, verify that your new hosting provider supports the latest WordPress requirements.
Check for:
- Latest PHP version
- MySQL or MariaDB support
- SSL certificates
- Adequate storage
- Daily backups
- FTP or SFTP access
- Control panel access
Also confirm that your current WordPress theme and plugins are compatible with the new hosting environment.
Step 3: Export Your WordPress Database
The WordPress database stores your posts, pages, comments, settings, and user information.
You can export it using your hosting control panel or database management tool.
Save the exported database file in a secure location, as you’ll need it when restoring your website on the new server.
Step 4: Create a New Database
Log in to your new hosting account and create a new database.
Make a note of:
- Database name
- Database username
- Database password
- Database host
You’ll use these details to connect your WordPress installation to the new server.
Step 5: Upload Your Website Files
Using an FTP or SFTP client, upload all WordPress files to the new hosting account.
Important folders include:
- wp-admin
- wp-content
- wp-includes
Also upload important files such as:
- wp-config.php
- .htaccess (if applicable)
Ensure every file is transferred successfully before proceeding.
Step 6: Import the Database
Import your previously exported database into the newly created database on your hosting account.
After importing, update your wp-config.php file with the new database credentials so WordPress can establish a connection.
Step 7: Update Your Domain Settings
If you’re keeping the same domain name, update your domain’s DNS settings or nameservers to point to the new hosting provider.
DNS propagation usually completes within a few hours but may take up to 48 hours worldwide.
During this period, some visitors may still access the old server while others reach the new one.
Step 8: Test Your Website
Before canceling your previous hosting account, thoroughly test your website.
Check:
- Homepage
- Internal pages
- Images
- Contact forms
- Login page
- Search function
- Navigation menus
- Plugins
- Mobile responsiveness
- Website speed
Fix any broken links or missing images before making the migration permanent.
WordPress Migration Plugins
If you prefer an easier method, several WordPress plugins automate much of the migration process.
All-in-One WP Migration
A beginner-friendly solution that exports your website, uploads it to the new server, and restores everything with minimal configuration.
Duplicator
Creates a complete package of your website, making it easy to move to another hosting provider or staging environment.
WP Migrate DB
Designed for users who want greater control over database migration. It supports search-and-replace functionality for URLs and file paths.
Migration plugins reduce manual work and are especially helpful for users without advanced technical experience.
Common Migration Mistakes to Avoid
To ensure a smooth migration, avoid these common mistakes:
- Forgetting to create a backup
- Uploading incomplete files
- Using incorrect database credentials
- Ignoring plugin compatibility
- Deleting the old hosting account too early
- Not testing the website before going live
- Forgetting to update DNS records
Careful planning helps minimize downtime and prevents data loss.
Final Thoughts
Migrating a WordPress website doesn’t have to be difficult. By creating a complete backup, preparing your new hosting environment, transferring your files and database correctly, and thoroughly testing the website afterward, you can complete the migration with confidence.
Whether you choose a manual approach or use a migration plugin, following best practices ensures your website remains secure, functional, and ready to deliver an excellent experience for your visitors.
